It will soon be “that” time of year. Seed catalogues and seed orders are arriving in the mail, seed displays are being set up in stores and as the days turn longer, gardeners get the itch to start planting some seeds. If you’re like me (Christina), I spend the winter pouring over glossy seed catalogue pages, placing online orders, and picking up packets of seeds wherever I find them and start getting eager to get growing. A lot of first time or new gardeners make the mistake of starting seeds too early and/or not having enough light and end up with disappointing, leggy seedlings that don’t take well to the transition outdoors. Here, in our climate (zone 5B hardiness zone according to the back of our Vesey’s seed catalogue) the familiarly recommended “6-8 weeks before the last frost” time of year is not until the beginning of April. It’s easy to make the opposite mistake and start seeds too late for slow growing things that take forever to mature.
I’ve been experimenting and
reading and researching and improving my seed starting process for 10 years
now. There are far too many details, to include them all in a blog post, but here
are some details of the process I follow for starting my seedlings here in New
Ross, NS.
Timing
Once you plant the first seeds,
there are no days off until after they’re planted out in the garden so don’t
start them too early! The first seeds I start every year are lavender and lemon
grass, then rosemary, leeks and onions. I start those in February. They are
really slow growing and need the time. Then in mid March I start peppers and early
April I start tomatoes. The final seeds I start each year (May) are
melons/luffa, basil and some flowers. Most seed packets indicate how many days
it takes to germinate and how many days prior to the last frost you should
start inside. I use June 1 to count the weeks backwards to when I will start
seeds. Some plant (lettuce, onions, poppies, calendula, cabbage etc) are a lot
more cold hardy and can test the limits of the last frost if you plant them
outside early. The heat-loving crops (tomatoes, peppers, eggplants, luffa,
cucumbers etc) will not handle cold temperatures well and only suffer if you
plant them outside too early.
The lights/Shelf
My indoor seed starting set-up is
pretty simple. In our main floor office, I have a heavy-duty shelf with 8
florescent shop light fixtures (each with 2 bulbs). I use a fan to blow on the
seedlings to ensure they grow strong stems and can hold up to the wind when
they go outdoors.
On each shelf, I can fit four “flats”
of seedlings. The light fixtures hang from chains and s-hooks so I can lift
them up as the plants grow. I have a couple heat mats which speeds up
germination, but those aren’t necessary, and I typically only use them for a
couple weeks until the seeds have germinated. I adjust the lights so that
they’re no more than 15 cm above the top of the plants. There are expensive
fluorescent bulbs for plants, but I just use a mixture of the warm and cool
ones so I end up with full spectrum light.


The containers
Over the years, I’ve invested in
some heavy plastic trays and reuse the various sizes of plastic cells that fit
inside of them for as many years as I can. I have a half dozen clear plastic
humidity domes that fit on the trays. They’re only needed for a couple weeks
until all of the seeds germinate. Each year I disinfect and scrub the plastic
containers and use them again. I usually avoid peat pots (other than for some
special cases like starting a few squashes, luffa or cucamelons that I like to
start inside for just a couple to few weeks) as I find they deteriorate and get
mouldy.
The soil
I buy a large bale of Pro-Mix seed
starting mix from a local farm supply store. It’s quite a bit cheaper than
buying multiple smaller bags. There are lots of people who mix their own, and
people avoiding peat altogether, but this works for me and I’ll stick with it.
The best tip I have for working with the seed starting soil is to pre-moisten
it. Usually, it gets quite dry and if you put your seeds in dry soil and then
water, it take a lot of water to get it moist again and sometimes moves the
seeds around in the cell. I put the soil in a bucket or tote and saturate it
with tap water before filling the containers.

The seeds
I buy, swap and save seeds. I
store them in plastic shoeboxes in a cooler closet in our porch and try to
label each packet with the year that I’ve bought them so I can keep track of
how old they are. Some seeds have longer shelf life than others, but most seeds
are viable for a few years if you store them properly. I prefer to support
small scale local seed savers (Incredible Seed Company, Yonder Hill Farm,
Annapolis Seed, Cochrane Family Farm to name a few) and have always had great
success with those seeds.
Fertilizer
Seed starting soil typically has
a small amount of fertilizer in it. The seed starting soil is sufficient if
you’re only growing seedlings for a few weeks before planting them outside, but
they will start to turn yellow and get stunted if they don’t receive some
nutrients. When, what and how to feed your seedlings is a controversial topic
amongst gardeners with all kinds of varying advise. I sparingly use a liquid
fertilizer.
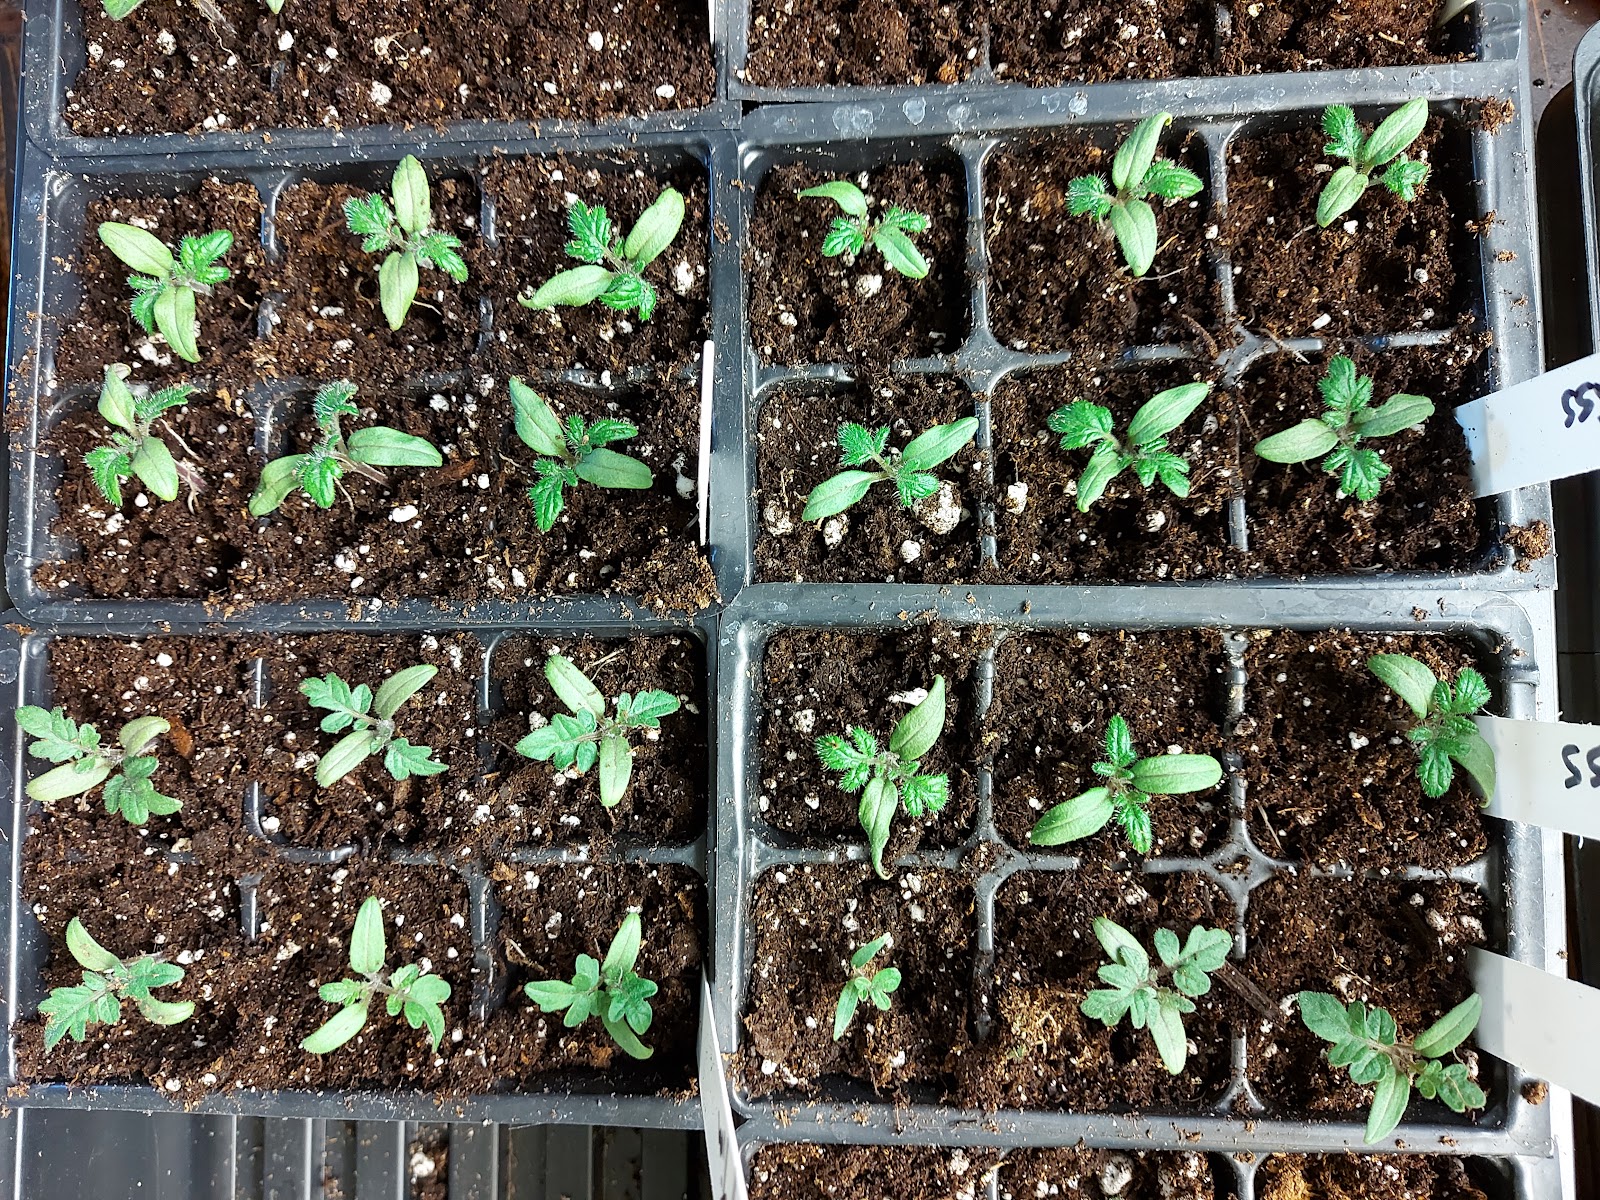
Potting up
I tend to start my seeds in an
open container (no individual cells) and then as they germinate and grow, I
“pot them up” into small cells and then larger cells and then individual pots
if need be. I try to keep ahead of them becoming root bound in whatever size
container they’re in. I do this to save space under my lights indoors and avoid
empty cells from seeds that didn’t germinate.

Hardening Off
The final step before planting
the seedlings outdoors in the garden is hardening them off. When it gets close
to time to plant out the seedlings, I spend a couple weeks hardening off my
plants. That involves moving them outdoors after the sun comes up, in a
sheltered location (no direct sun/strong wind right away) for a couple hours at
first, and gradually increasing the amount of time and their exposure to sun
and wind. I move some of mine to the unheated greenhouse in May. Even after
being in the unheated greenhouse, they still need hardening off before going
into the garden. If you rush this process and put your seedlings out for too
long, when it’s too hot or too windy or too cold, they’ll burn or break or
wither.

Starting your own seeds can be a
lengthy but fun and rewarding process.


No comments:
Post a Comment